
How to Sew a Four-Hole Button Back On
A short hand-sewing guide for a loose or missing flat button, with checks to make before choosing a replacement.
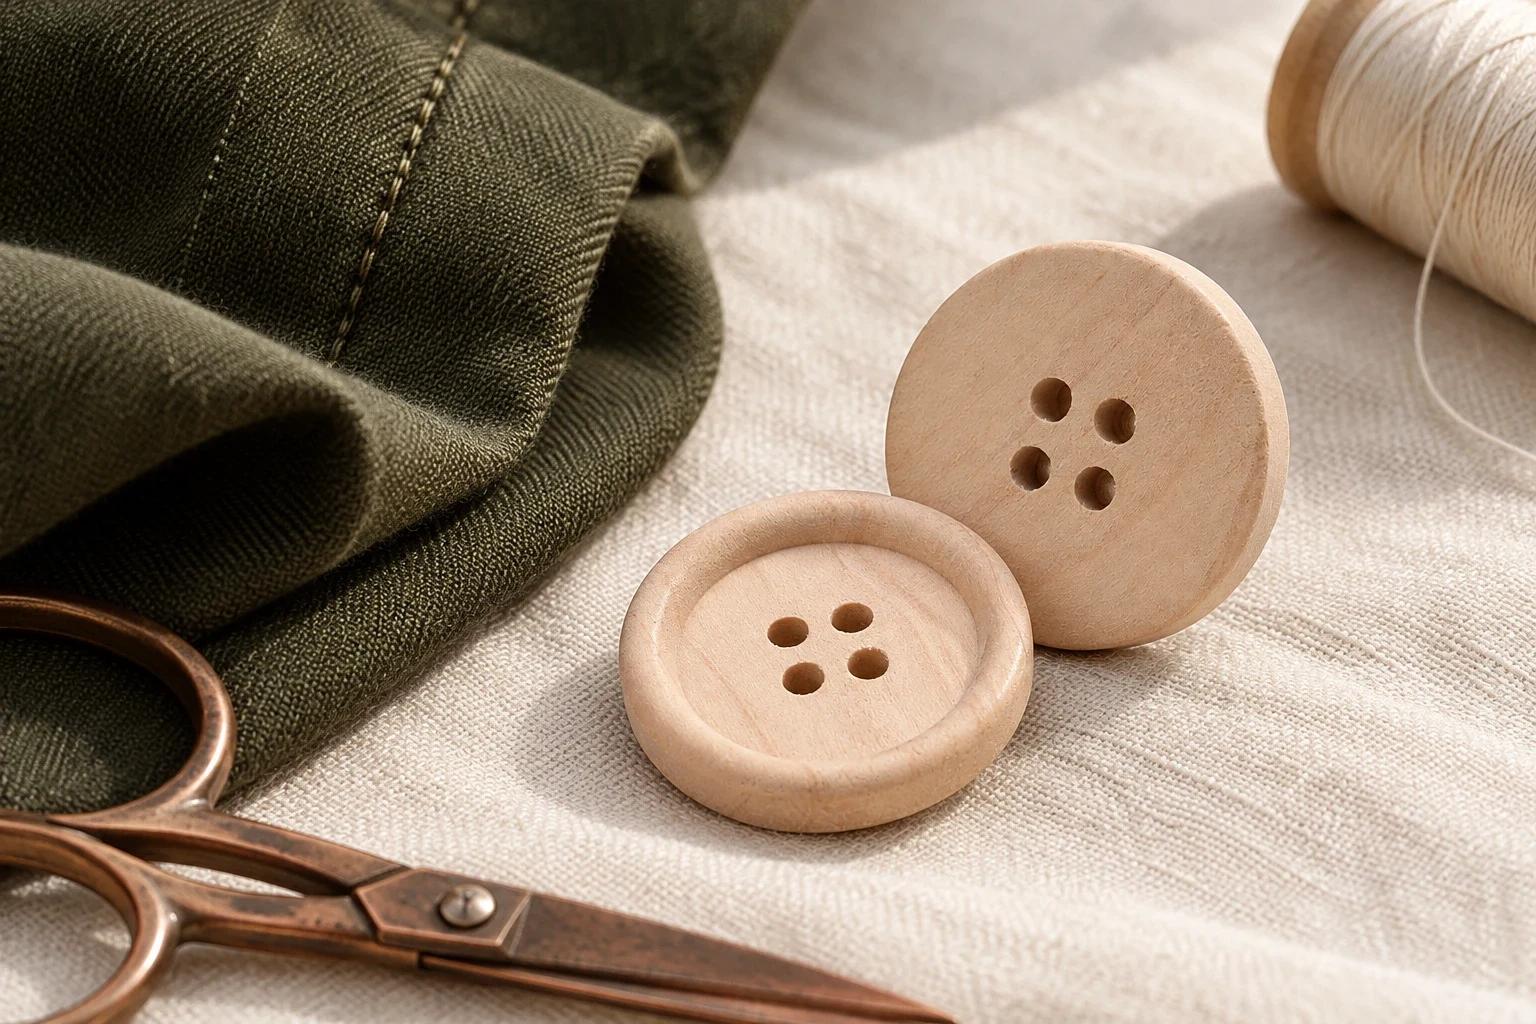
Check the button before starting
This method is for a flat, four-hole button. A shank button attaches through a loop on its back and needs a different stitch path. If the fabric is torn, repair the damaged area before using it to support a button.
If the original is missing, check for a spare supplied with the garment. Compare a replacement with a remaining button from the same fastening position. Our button measurement guide explains diameter, attachment, thickness and hole-spacing checks.
Gather your supplies
You will need a suitable button, a hand-sewing needle, thread and scissors. A needle threader and thimble can help. Work on a stable surface and keep the needle and scissors safely out of reach of children.
Sew through the four holes
- Mark the original fastening position and thread the needle. Knot the thread ends.
- Bring the needle from the inside of the garment through the fabric and one button hole. Centre the button over the mark.
- Stitch down through a diagonally opposite hole and the fabric. Leave room for the overlapping fabric beneath the button; the UF/IFAS method uses a toothpick as a temporary spacer.
- Repeat for the other diagonal pair, making a cross. Stitch through both pairs several times. Remove the spacer, wind thread around the stitches beneath the button, then secure the thread on the inside.
For the illustrated method, follow the UF/IFAS reference below. Do not use these sew-through steps for a riveted or fixed-post fastener.
Check the finished fastening
Fasten and unfasten the garment gently. Check that the button sits at the original position and that the buttonhole passes over it without force. Tight stitching, a different button profile or damaged fabric can affect the result; diameter alone does not establish compatibility.
Choosing a replacement
Record what you know about the original before shopping. Check the selling unit and number of pieces in a pack separately from physical size. Compare the related listings only if their attachment and specifications suit your repair. Their appearance does not establish a match.
Keep the original button with your notes until you have checked the replacement.
Sources & further reading
These references support general repair knowledge; they do not verify the specifications or fit of our products.
Related buttons
Compare the selected option’s specifications with your original. A link here does not confirm a garment-specific match.
Need help choosing?
Email a photo of the front and back of the original part, your measurements and the product you are considering. A photo alone cannot confirm fit.
support@ignisterra.store